Some links in this article are affiliate links. If you buy through them we earn a small commission at no extra cost to you. We only recommend products we genuinely use and trust.
Brake pads are a safety item. Unlike a worn chain that costs you shifting quality, worn brake pads cost you stopping power. The difference between a controlled stop and a panic grab at the bottom of a descent can come down to a millimetre of pad material.
The good news is that checking and replacing brake pads is one of the simplest maintenance jobs on a bike. The bad news is that most riders don't do it until something feels wrong, and by then the damage may extend beyond the pads themselves. Here's how to stay ahead of it.
How brake pads wear
Brake pads work by friction. You squeeze the lever, and the pad material presses against a surface (the rim or the rotor) to slow you down. Every time you brake, a tiny amount of pad material is sacrificed. Over thousands of kilometres, the pad wears thinner until there's not enough material left to brake effectively.
What makes brake pad wear tricky is that it's not linear. Pads can last months in dry summer riding, then wear through in weeks once the rain arrives. Grit and water act as an abrasive paste between the pad and braking surface, accelerating wear dramatically. A rider doing 200 km a week through a UK winter will get through pads far faster than someone doing the same distance in July.
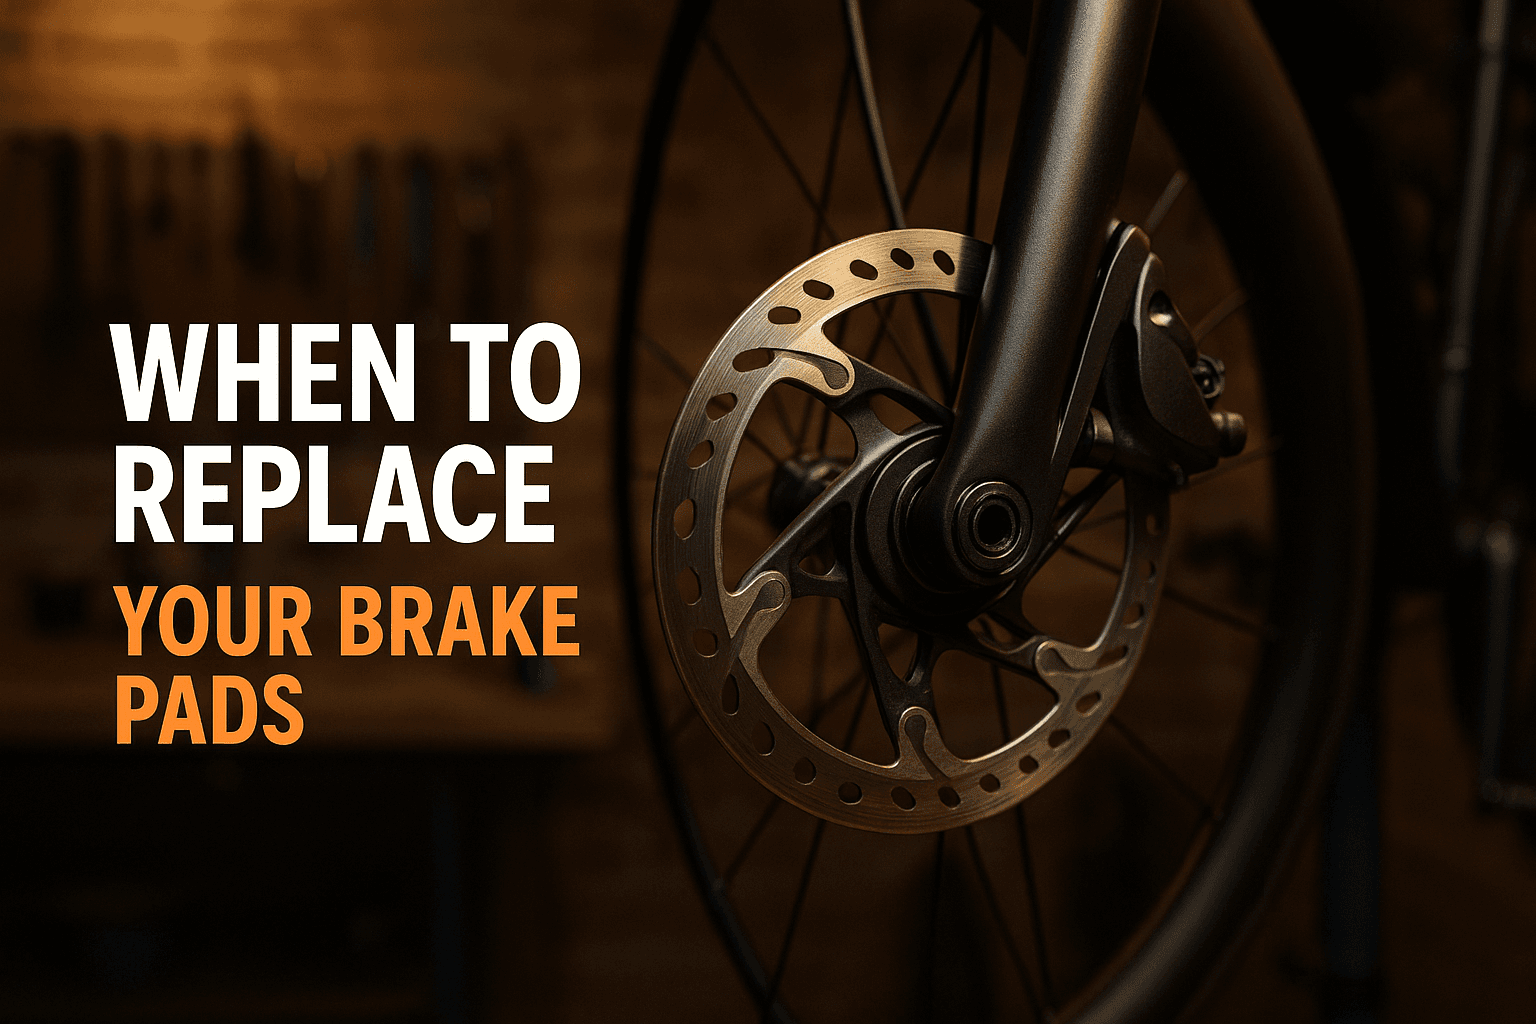
Rim brake pads vs disc brake pads
The two systems wear differently and have different warning signs.
Rim brake pads
Rim brake pads press against the wheel rim itself. They're made from a rubber compound (or cork, for carbon rims) and are visible without removing anything. You can check them in seconds.
When to replace:
- Grooves worn smooth - Most rim brake pads have channels moulded into the surface. When these grooves disappear, the pad is done.
- Uneven wear - If one side of the pad is thinner than the other, the pad is misaligned. Replace and realign.
- Hardened surface - Old pads can glaze over, becoming shiny and hard. They'll squeal and lose grip. You can sometimes sand the surface to restore them, but replacement is better.
- Metal showing - If you can see the metal backing plate, you've gone way too far. The metal will score your rim, potentially ruining it.
Important: Rim brake pads also wear the rim itself. Over time, the braking surface thins out. Many rims have a wear indicator (a groove or small hole in the braking surface). If the indicator has disappeared, the rim is dangerously thin and the wheel needs replacing. This is separate from pad wear, but checking one should prompt you to check the other.
Disc brake pads
Disc brake pads sit inside the caliper and press against a metal rotor. They're harder to inspect because they're partially hidden, but checking them is still straightforward.
When to replace:
- Less than 1 mm of material - Remove the wheel and look into the caliper (or remove the pads entirely). The friction material should be at least 1 mm thick. Some pads have a thin metal backing plate that's about 1 mm itself, so don't confuse the backing with usable material.
- Contamination - If your pads have been exposed to oil (from a leaking caliper, chain lube overspray, or touching them with greasy fingers), they'll feel weak and grabby, and they'll howl. Contaminated pads rarely recover. Replace them.
- Glazing - Like rim pads, disc pads can glaze if overheated on long descents. The surface becomes shiny and smooth. Light sanding with fine sandpaper can help, but severely glazed pads should be replaced.
- Uneven wear - If one pad is thinner than the other, the caliper isn't centred. Replace the pads and realign the caliper.
How long do brake pads last?
This is the question everyone asks, and the honest answer is: it depends enormously on conditions. Here are rough guides based on UK riding:
| Pad type | Conditions | Typical lifespan |
|---|---|---|
| Rim brake (standard compound) | Dry | 3,000–5,000 km |
| Rim brake (standard compound) | Wet / winter | 1,000–2,000 km |
| Rim brake (carbon-specific) | Dry | 2,000–4,000 km |
| Disc brake (resin / organic) | Dry | 2,000–4,000 km |
| Disc brake (resin / organic) | Wet / winter | 800–1,500 km |
| Disc brake (sintered / metallic) | Dry | 3,000–6,000 km |
| Disc brake (sintered / metallic) | Wet / winter | 1,500–3,000 km |
These figures assume average riding on rolling terrain. If you live somewhere hilly and ride the brakes on long descents, expect the lower end. Lighter riders generally get more life from pads than heavier riders. Tandems chew through pads remarkably fast.
Resin vs sintered disc brake pads
If you're on disc brakes, you'll encounter two types of pad compound. The choice matters.
Resin (organic)
Resin pads are made from a mix of organic fibres bound with resin. They're quieter, bed in faster, and offer good modulation (fine control over braking force). Most bikes ship with resin pads.
The trade-off is durability. Resin pads wear faster, especially in the wet. They're also more prone to overheating on long descents, which can cause glazing and temporary power loss (brake fade).
Sintered (metallic)
Sintered pads are made from metal particles fused under heat and pressure. They last significantly longer than resin, handle heat better, and perform more consistently in wet and muddy conditions.
The downsides are noise (they can squeal, especially when cold or damp) and they're harder on rotors. You'll get more pad life but may need to replace rotors sooner.
Which to choose:
- Year-round UK riding - Sintered. The wet weather durability alone makes them worthwhile.
- Dry conditions, lighter rider - Resin. Quieter and smoother.
- Hilly terrain, heavy rider, loaded touring - Sintered. The heat resistance matters.
- Carbon rims with rim brakes - Always use carbon-specific pads. Standard compounds will destroy the braking surface.
Recommended disc brake pads:
- Shimano B05S-RX Resin Pads - The standard replacement for most Shimano two-piston MTB and hybrid calipers, reliable and quiet
- Shimano L05A-RF Resin Pads - Finned resin pads for Shimano road flat-mount calipers (105, Ultegra, Dura-Ace, GRX), excellent modulation
- Shimano L04C Sintered Pads - The sintered version for the same road calipers. The winter and big-descent choice
- SwissStop Disc 35 RS - Premium organic pads for SRAM Red/Force/Rival AXS road calipers
Recommended rim brake pads:
- Shimano R55C4 Pads - The default choice for alloy rims, consistent and affordable
- SwissStop FlashPro BXP - SwissStop's latest alloy compound, excellent in the wet and gentle on rims
- SwissStop FlashPro Black Prince - The go-to for carbon rims, won't damage the braking surface
How to check disc brake pad wear
You can do a basic check without removing anything, but removing the pads gives you a much better picture.
Quick visual check
Remove the wheel and look into the caliper slot from the top or bottom. You should see two pads separated by a gap where the rotor sits. The friction material is the coloured layer bonded to the metal backing plate. If you can barely see any material, or the gap between the pads is very wide (meaning they've worn thin and the pistons have pushed out further), it's replacement time.
Remove and measure
For a proper check, remove the pads from the caliper. Most modern calipers use a split pin or bolt to hold the pads in place. Slide them out and measure the friction material with a digital caliper or simply eyeball it against a new pad if you have one to compare.
New pads typically have 2.5–3.5 mm of friction material. Replace when you're down to 1 mm or less. Some pads have a wear line stamped into the side to make this easier.
The scraping noise test
If you hear a metallic scraping or grinding when braking, you may have worn through the pad material entirely and the metal backing plate is contacting the rotor. Stop riding and check immediately. Riding metal-on-metal will score the rotor surface, and a scored rotor usually means a new rotor as well as new pads.
What happens if you wait too long?
With rim brakes, worn pads eventually expose the metal shoe holder, which scores the rim braking surface. A scored rim is weakened and can fail, particularly on a long descent when heat builds up. Rim failure at speed is catastrophic.
With disc brakes, worn pads expose the metal backing plate to the rotor. This scores the rotor, creating deep grooves that new pads can't bed into properly. A scored rotor needs replacing, and decent rotors cost £25–60 each. Given that a set of pads costs £10–25, replacing them on time is an obvious saving.
In both cases, the pattern is the same one we covered in our chain replacement guide: a cheap wear item, replaced on time, protects an expensive one. Pads protect rotors and rims. Chains protect cassettes and chainrings. The maths always works out the same way.
Recommended rotors (if you do need to replace):
- Shimano RT-MT800 Ice Tech Freeza - Excellent heat management with the sandwich construction, fits most Shimano Centre Lock setups
- Shimano SM-RT70 Ice Tech - Mid-range option with the same cooling technology at a lower price
Contamination: the silent pad killer
Pad contamination is worth its own section because it accounts for a huge number of premature pad replacements, and it's almost always preventable.
Common causes:
- Chain lube overspray - Spraying lube near the rear caliper. Always lube the chain with a rag behind it, or remove the rear wheel first.
- Brake fluid leak - A weeping caliper seal drips mineral oil or DOT fluid directly onto the pads. Fix the caliper before fitting new pads.
- Touching the pad surface - The oils from your skin transfer to the pad. Handle pads by the edges or backing plate, never the friction surface.
- Aerosol sprays - GT85, WD-40, or frame polish sprayed near the brakes. The overspray drifts further than you think.
Can you fix contaminated pads? Sometimes. Baking resin pads in the oven at 200°C for 15 minutes can burn off surface oil. Sanding the surface after cooling removes the glazed layer. But this only works for mild contamination. If the oil has soaked into the pad material, it'll keep resurfacing. At £10–25 for a new set, replacement is usually the better option.
If you do replace contaminated pads, also clean the rotor with isopropyl alcohol or a dedicated disc brake cleaner. Any residual oil on the rotor will immediately contaminate the new pads.
Bedding in new pads
New pads need bedding in before they'll perform at full strength. Skipping this step means weaker braking and uneven wear.
The bedding process:
- Find a quiet road or empty car park.
- Ride at moderate speed (20–25 km/h) and apply the brakes firmly but not hard enough to lock the wheel. Slow to walking pace, then release.
- Repeat 15–20 times for each brake.
- Avoid dragging the brakes during bedding. Firm, controlled stops with full release between them.
You'll feel the braking power increase as the pads bed in. The process transfers a thin layer of pad material onto the rotor (or rim), creating better contact and friction. It takes about 10 minutes and makes a noticeable difference.
How conditions change everything
Our bike maintenance schedule covers this broadly, but brakes deserve specific attention because the variation is so extreme.
Wet riding doubles or triples pad wear rate. Water carries grit between the pad and braking surface, acting as a grinding paste. Rim brakes are especially affected because the rim is fully exposed. Disc brakes handle wet conditions better, but the pads still wear faster.
Hilly terrain means more braking, more heat, more wear. Alpine-style descents put enormous thermal stress on brakes. Resin pads can overheat and fade. Rotors can warp. If you're regularly descending for 10+ minutes, sintered pads and larger rotors (160 mm or 180 mm) are worth considering.
Winter commuting is the worst-case scenario for pad life. Short rides in cold, wet, gritty conditions with frequent stops. Disc brake pads can wear through in 500–800 km under these conditions. Check them fortnightly if you're commuting through winter.
Track it, don't guess
The hardest part of brake pad maintenance isn't the replacement itself. It's knowing when you last checked, how many kilometres ago you fitted the current set, and whether they're likely due based on the conditions you've been riding in.
WrenchLog tracks component mileage automatically by syncing with Strava. Set your brake pads' expected lifespan based on your riding conditions, and you'll get an alert when they're approaching replacement. No guesswork, no forgetting, no nasty surprises at the top of a descent.